Washington
Yacht Club

FJ Rigging Guide

Setup

Equipment

Put the tiller, rudder, and PFDs in the boat. Grab the right rudder/tiller combo to match the color of your FJ's hull.

  • White FJs: smaller support bracket and curvy tiller
  • Blue FJs: larger support bracket and straight tiller
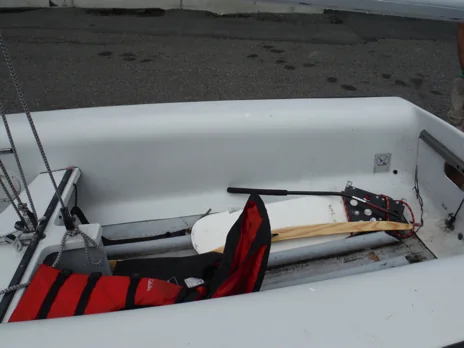
Tiller, rudder, and PFDs placed in the FJ

Drain and install plugs

Make sure centerboard is held tight by the jam cleat so it will not fall when you lift the boat.
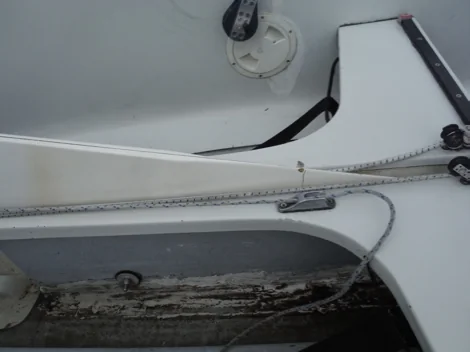
Centerboard line held in its jam cleat
Centerboard line secure in the jam cleat.

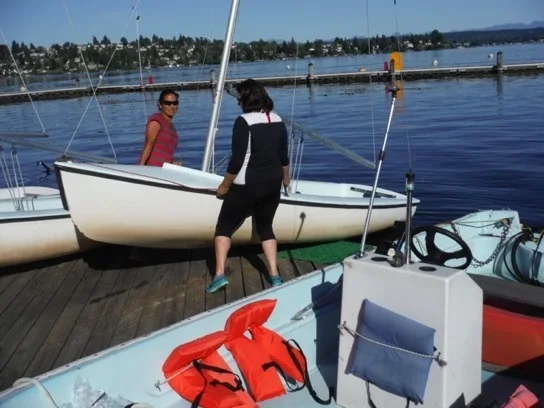
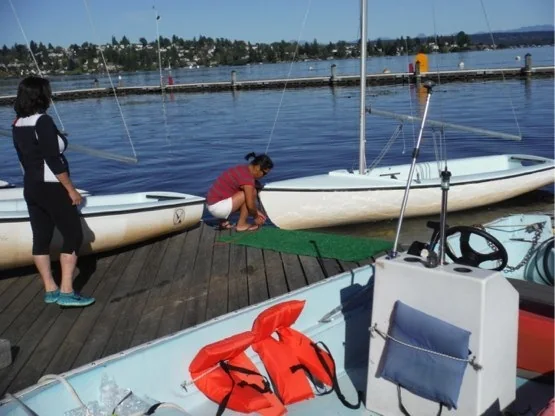
If there is water in the boat, undo the drain plug and lift the boat at the shrouds until the transom is off the edge of the dock. Use a carpet at the edge of the dock to protect the boat's fiberglass.
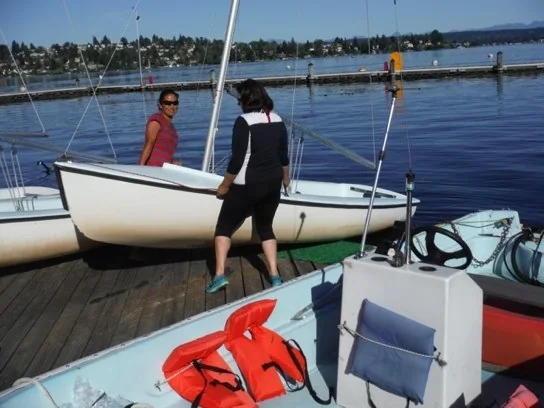
Two sailors lifting an FJ at the dock

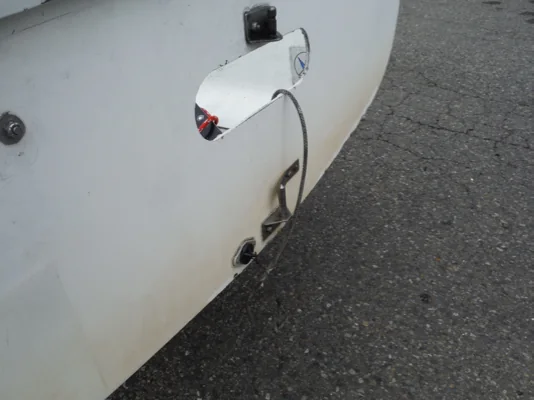
Put the drain plugs in.

Stern side-tank plug installed in an FJ
Stern plug
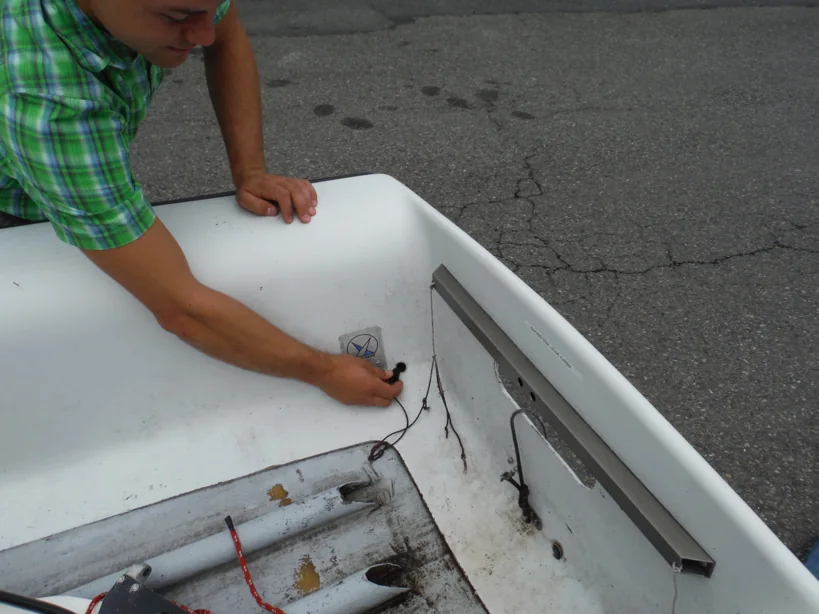
Sailor installing a side-tank plug inside an FJ
Side-tank plugs

Loosen sail controls

Knot at the mainsheet block being undone
Undo the knot in the mainsheet block, if there is one.
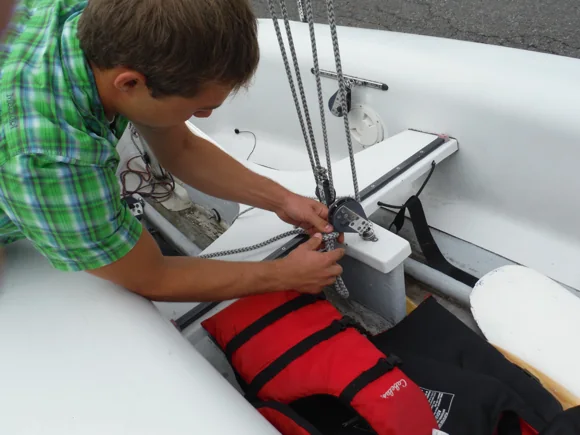
Sailor loosening the boom vang
Loosen the boom vang.

Lower the boom

Ask your crew to hold the boom while you loosen the halyard so the boom will not drop into the boat.
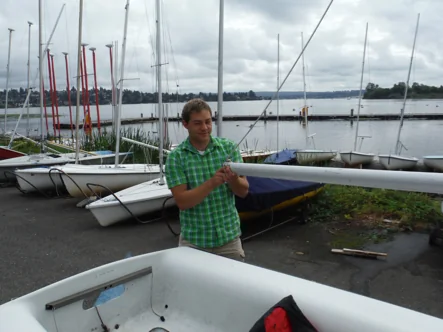
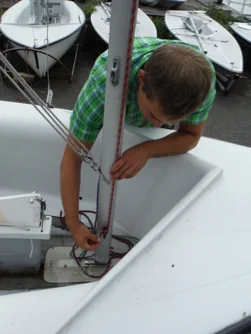
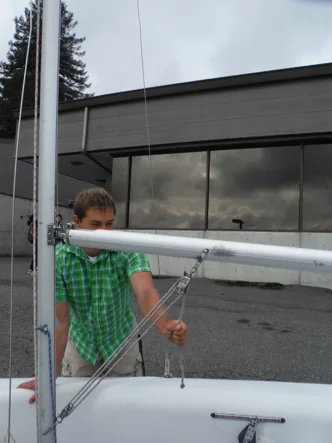
Sailor carefully lowering the boom into the FJ
A. Support the boom
Sailor loosening a halyard at the mast
B. Loosen the halyard

Lower the boom carefully into the boat.
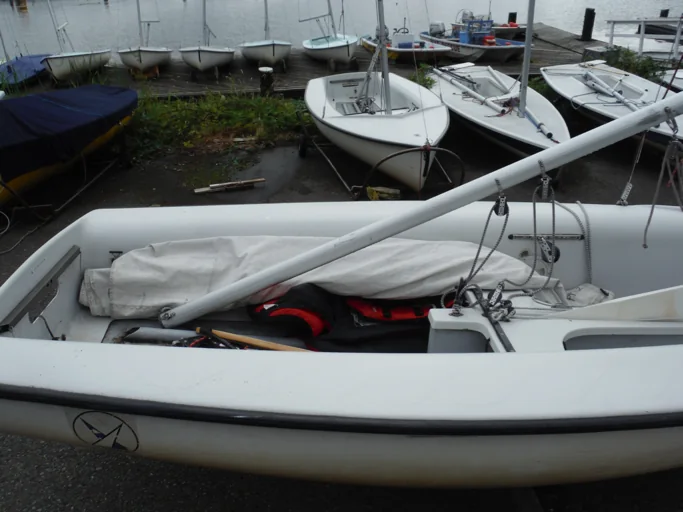
Boom resting above the cockpit of an FJ

Tie the halyard's ends together so that it does not get loose and sky at the top of the mast. The ring and a wet halyard together can be enough weight to pull the loose end up out of reach.

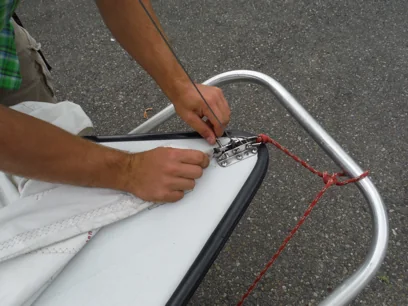
Sailor holding the two ends of the halyard together

Jib sail

Secure jib and halyard

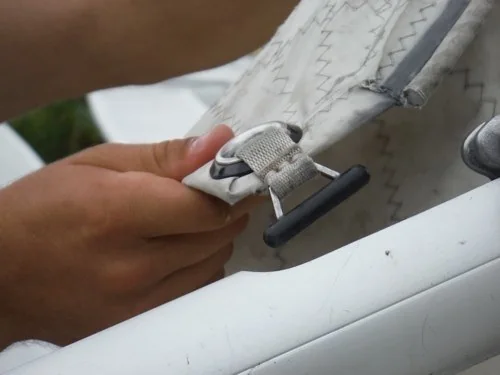
Place the tack grommet at the bow and slide the retaining pin through it.
  • The pin will feel loose until you raise the jib.
Attaching the jib tack with the retaining pin
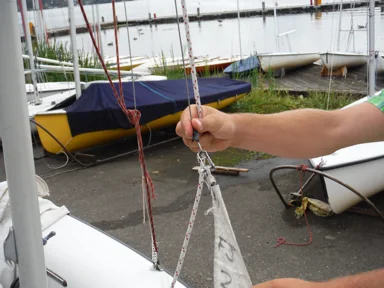
Connect the jib halyard shackle to the jib sail's head.
Jib halyard shackle connected to the head of the jib

Feed the jib halyard through the block at the bottom of the mast. Pull on the halyard until the small block on the halyard is low enough to feed the halyard through.
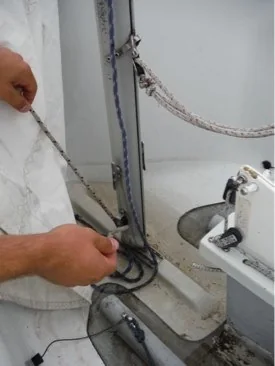
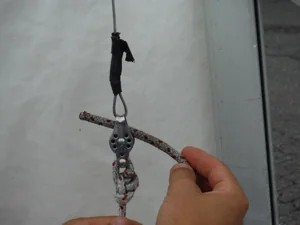
Tensioning the jib halyard beside the mast
A. Feed through bottom block
Jib halyard threaded through the small block
B. Feed through small block on the halyard

Tension jib halyard

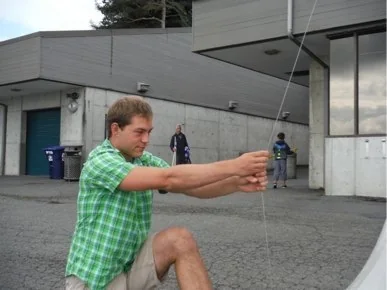
Have your crew pull on the forestay to create tension on the mast while you pull on the halyard.
Crew member pulling the forestay forward
Crew helps bend the mast forward, letting the skipper get more halyard tension

Secure the jib halyard to the cleat on the mast with a cleat hitch. Make sure not to lose tension as you tie it.

jib halyard secured to the mast cleat.

Test the luff tension by pulling on the shroud. It should be tight because the jib is now holding up the mast and the forestay is loose.
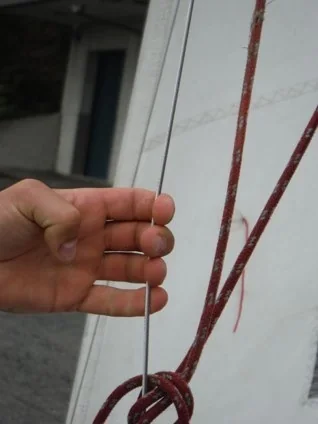
Sailor testing the jib luff tension at the shroud

Run jib sheets

Run the jib sheets through the blocks and tie a figure-eight knot at each end. Make sure the sheets stay inside the shrouds.
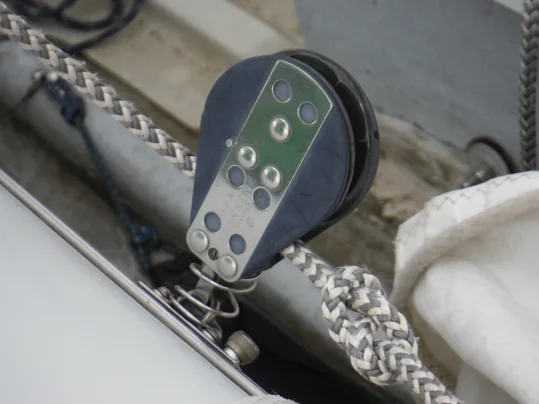
Jib sheet passing through its block

Mainsail

Foot

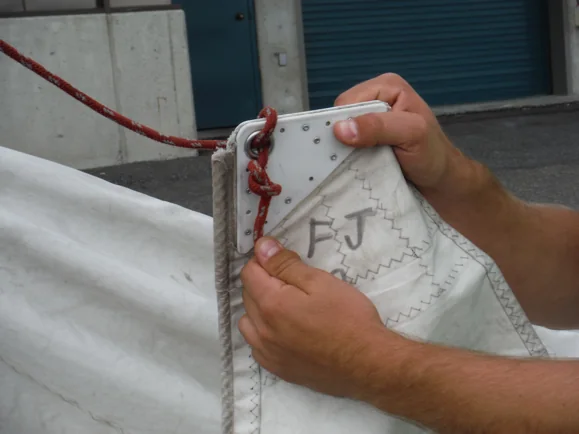
Locate the tack and clew of the main sail.
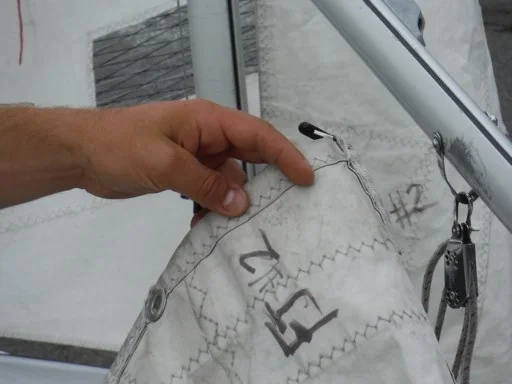
  • The tack grommet has the small grommet for the Cunningham above it.
  • The clew has a large grommet.
Main-sail tack with Cunningham grommet above it
Tack / Cunningham grommet.
Large grommet at the clew of the main sail
Clew grommet.

Starting at the mast, slide the rubber slug into the boom slot and pull it down to the stern end of the boom. You can optionally slide the entire bolt rope at the foot of the sail through the boom.

rubber slug in the boom slot.

Tack, clew, and outhaul

Secure the tack by sliding the rubber slug into the mast slot. Pass the outhaul through the clew grommet, then align it in the block on the boom.
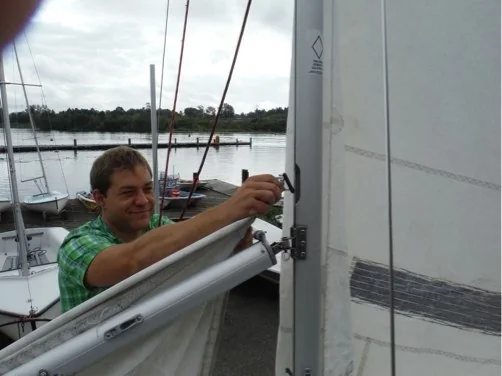
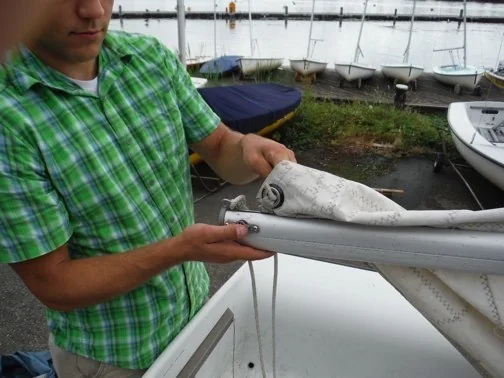
Main sail being fed into the mast slot
A. Feed the tack end into the mast slot.
Outhaul passed through the main-sail clew
B. Pass the outhaul through the clew.
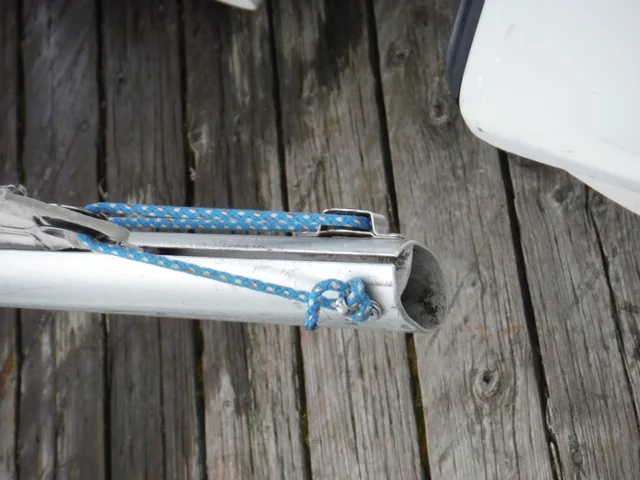
Outhaul aligned along the end of the boom
C. Run the outhaul through the block on the boom.

Run the outhaul up the boom to the jam cleat near the mast. Push the outhaul into the cleat and tie a figure-eight knot at the end of the line so it can't come out of the cleat.
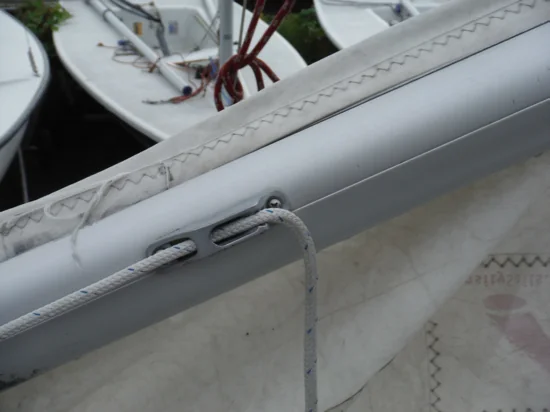
Outhaul secured in the jam cleat on the boom

Main halyard

Untie the main halyard from where you secured it and make sure the end running down the boom side of the mast is not twisted or fouled. Run the halyard through the hole in the head of the sail twice. Secure the halyard with a figure-eight knot and pull it tight to the head plate. Make sure the figure-eight knot has a long enough tail that it will not come loose.
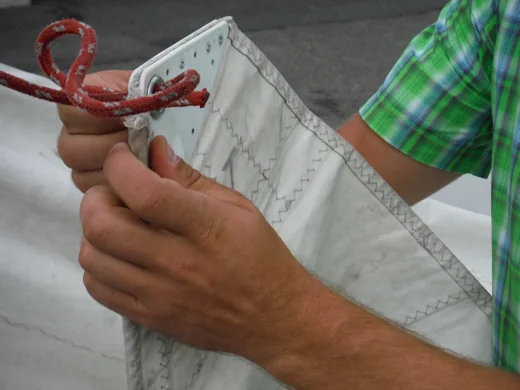
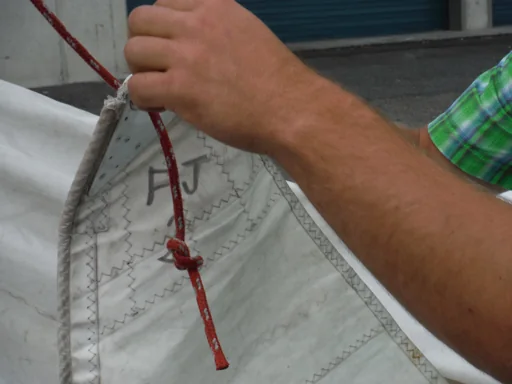
Main halyard passed through the sail head twice
A. Pass the halyard through twice
Figure-eight knot tied at the end of the main halyard
B. Tie a figure-eight knot
Main halyard pulled tight against the sail head
C. Pull in any remaining slack

Raise the sail only a few feet and secure the halyard to the cleat on the mast.
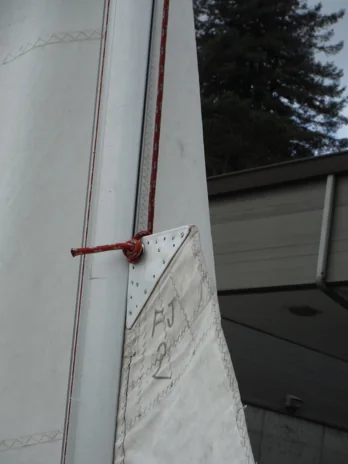
Main sail raised a short distance up the mast

Launching the boat

Double-check that the centerboard line is secure in the jam cleat and take hold of the painter so you don't lose the boat (the line attached to the bow).
Position your hands near the shrouds so you lift the boat at the beam, its widest point.
Two sailors preparing to lift an FJ from its dock support
Use the carpet to help the stern slide.
Tie the boat to the dock (with a bowline knot) as soon as it is in the water and point the bow into the wind.
Two sailors sliding the stern of an FJ into the water

Secure the sail bag under the FJ support so the wind does not blow it away and move the carpet away from the edge of the dock so it does not fall in the water.
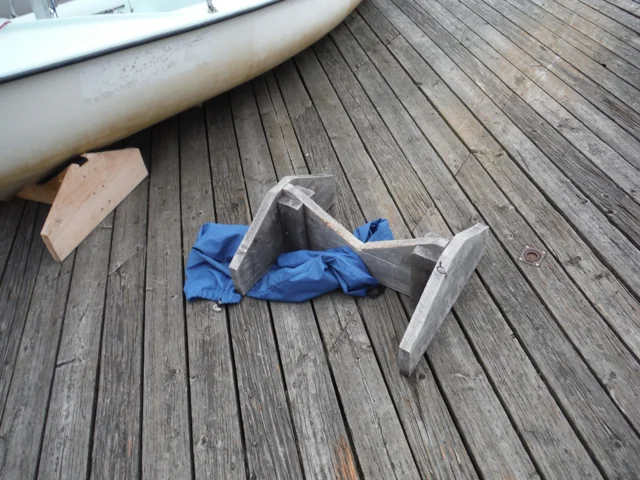
Sail bag secured under the wooden FJ support

Board the boat

Lower the centerboard to stabilize the boat before you step into the boat. Loop the bungee over the horns on the board.
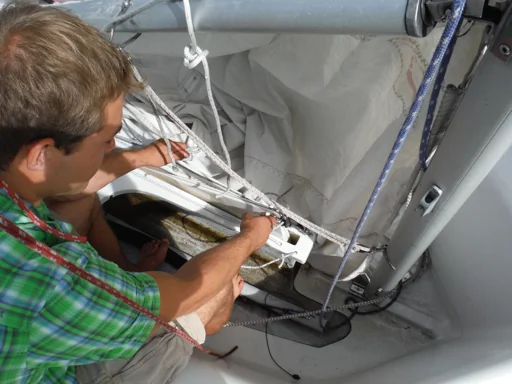
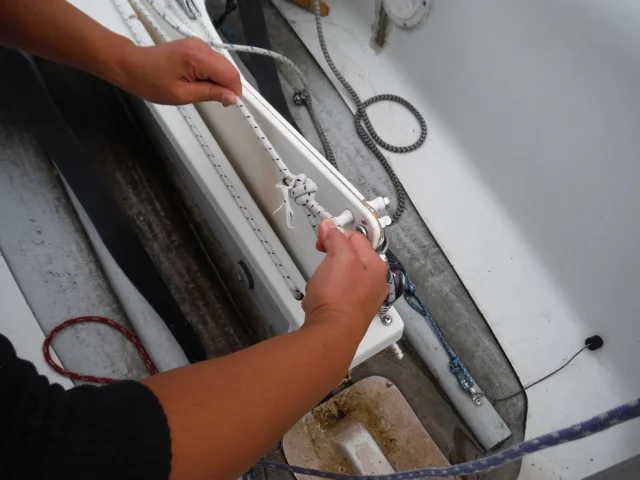
Sailor lowering the FJ centerboard
A. Lower the centerboard.
Bungee looped over the centerboard horns
B. Loop the bungee over the horns.

Make sure your crew is holding the shroud to keep the boat from tipping as you step into the middle of the boat.
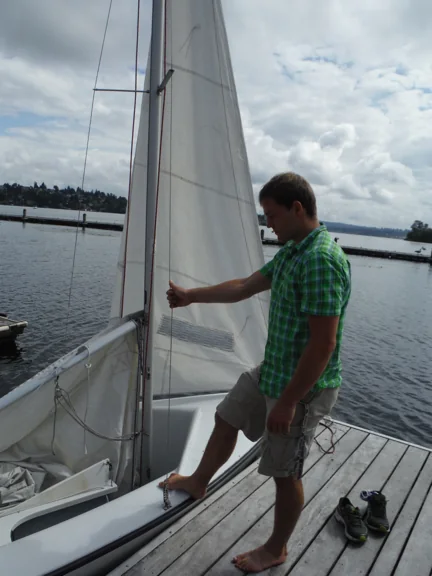
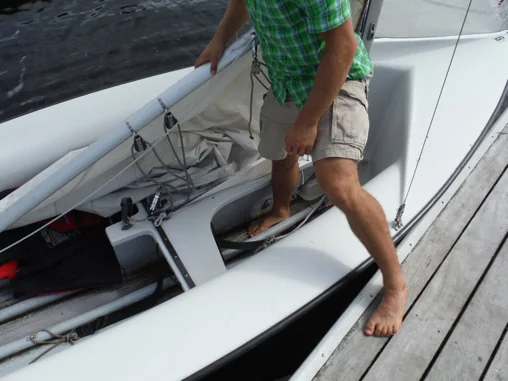
Crew member holding the shroud while the boat is boarded
Sailor stepping into the middle of an FJ

Rudder & tiller

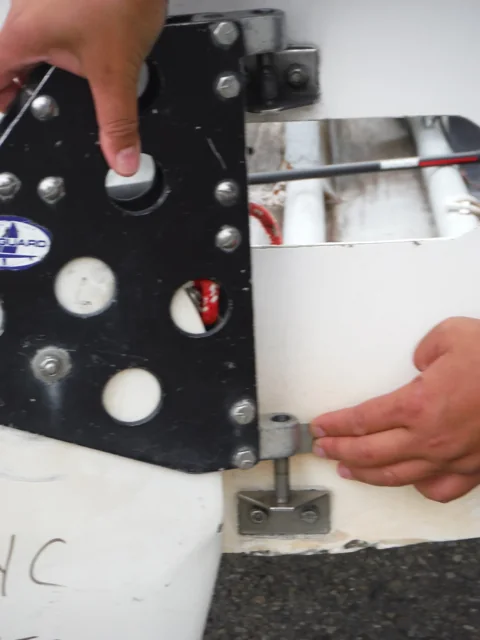
Lower the rudder onto the pins. You may need to push the retaining clip in so the bottom of the rudder does not hang up on it.
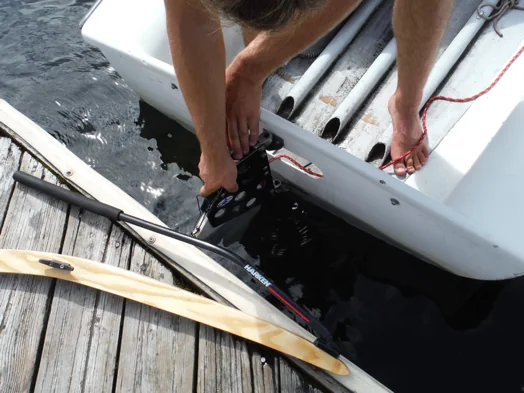
Sailor lowering the rudder onto the FJ pins
Lower the rudder onto the pins.
Close view of the rudder retaining clip and gudgeon
Ensure that the retaining clip prevents the rudder from coming out

Slide the tiller through and make sure it sticks out a little from the back of the rudder. Pull the securing line through the hole in the transom and tie it to the cleat on the tiller with a cleat hitch.
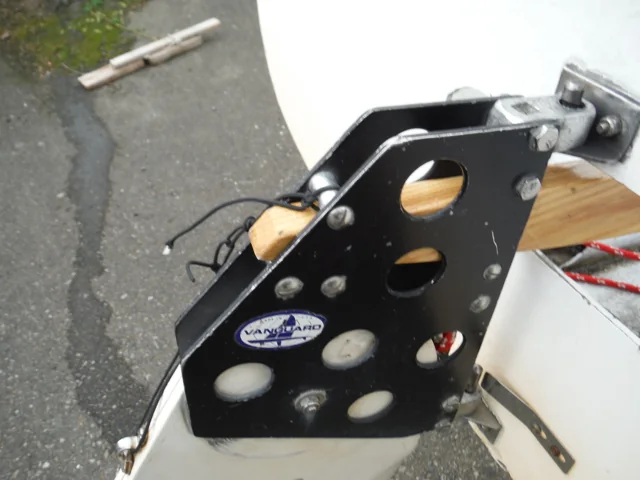
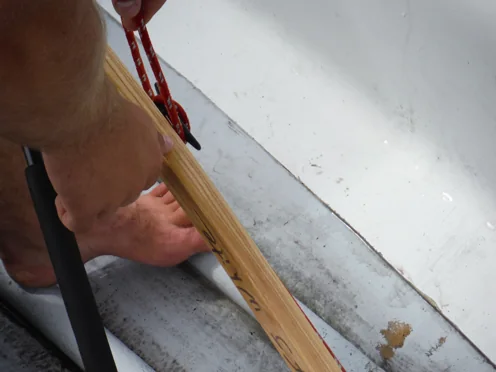
Tiller installed through the top of the rudder
A. Slide the tiller through the rudder.
Securing line tied to the cleat on the tiller
B. Tie the securing line to the tiller cleat.

Final Sail Setup

Raising the main

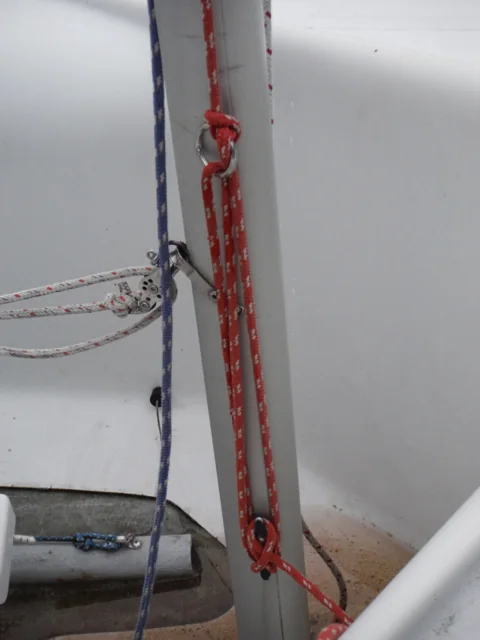
Loop the main halyard under the cleat and pull until the ring is within reach. Pass the halyard through the ring when you can reach it. Tighten down and secure the main halyard onto the mast with a cleat hitch.
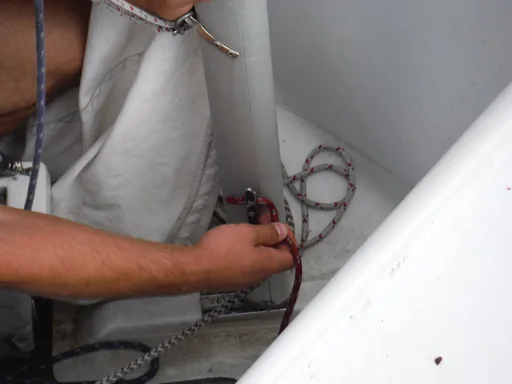
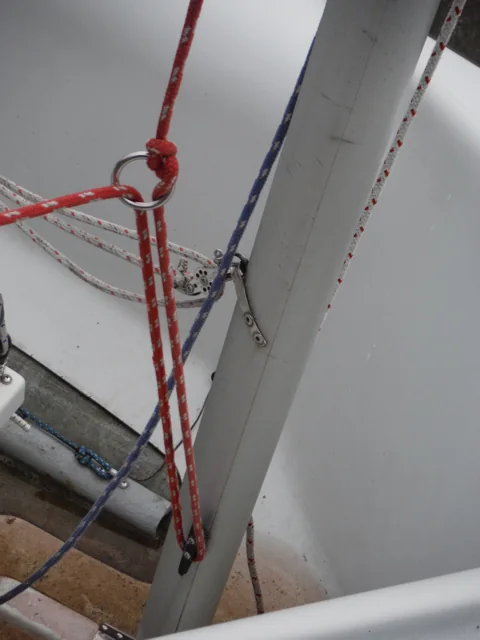
Sailor pulling the main halyard down at the mast
A. Pull the halyard until the ring is in reach.
Main halyard passed through the metal ring
B. Pass the halyard through the ring.
Main halyard tightened and secured beside the mast
C. Tighten and cleat the main halyard.

Cunningham, outhaul, vang

Pass the Cunningham through the small grommet above the tack and tighten it down in the mast jam cleat.
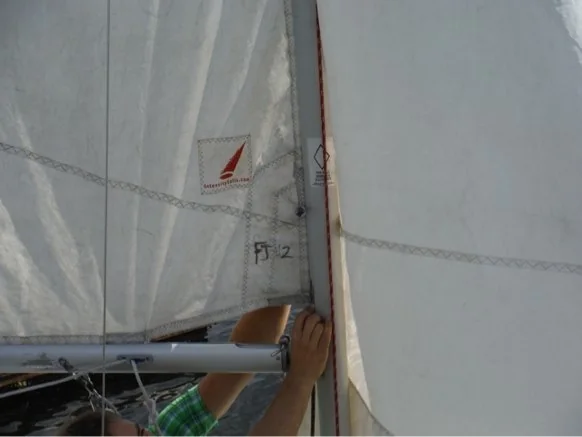
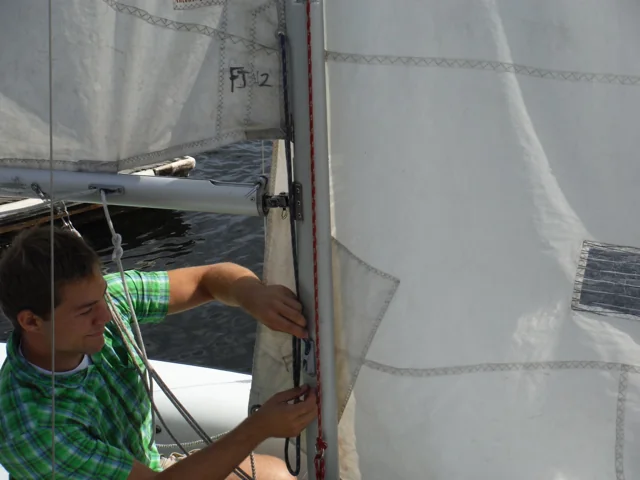
Cunningham line passed through the grommet above the tack
Pass Cunningham through grommet.
Sailor tightening the Cunningham at the mast
Tighten in mast jam cleat.

Tighten the outhaul and the boom vang more if necessary.
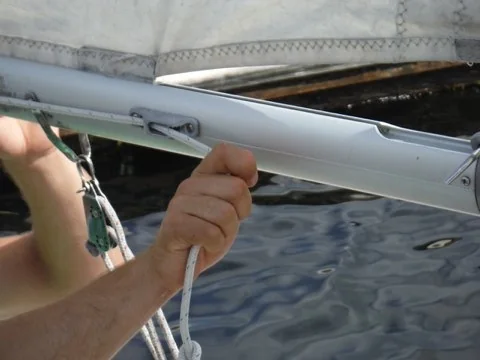
Sailor tightening the outhaul
Adjust outhaul.
Sailor tightening the boom vang
Adjust boom vang.
Sailor wearing a PFD in a fully rigged FJ

Make sure you wear a PFD, and have a good sail.

Derigging

Secure the boat

Make sure you have the boat turned into the wind and secured to the dock.

Then follow the guide in reverse to undo everything.

If there is water in the boat, undo the transom plug when you put the boat back on the dock support to let the water drain out.

Roll the sails

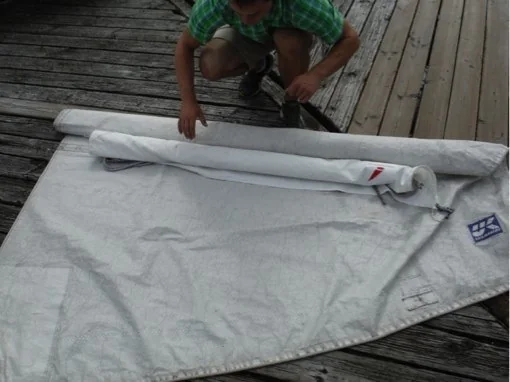
It helps if you roll the jib first. When you are almost done rolling the main, you can place the jib inside it.
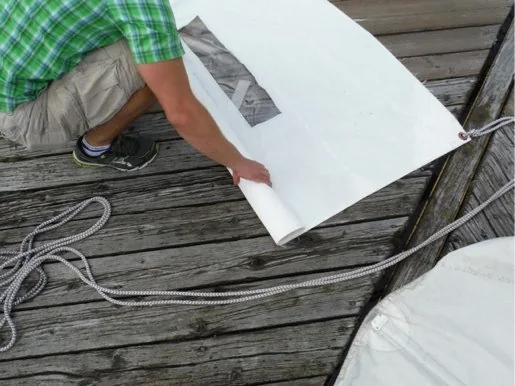
Sailor starting to roll the jib
Sailor rolling the main sail around the jib

Return the sail bag

Return the sail bag to the shelf in the sail locker.
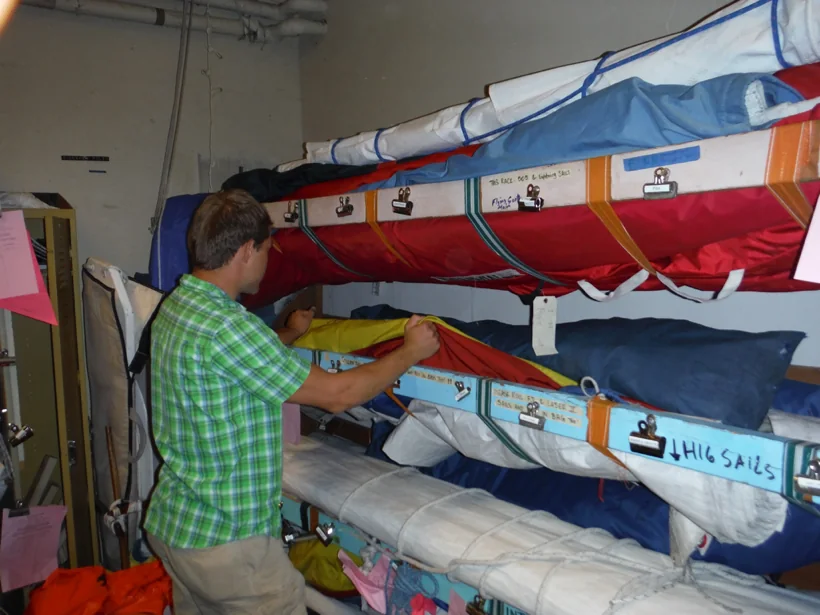
Sailor returning an FJ sail bag to its labeled shelf in the sail locker

Thank you for taking good care of the club's FJ.

Video guide